Fluid Bear DIY: Create a One-of-a-Kind Art Piece
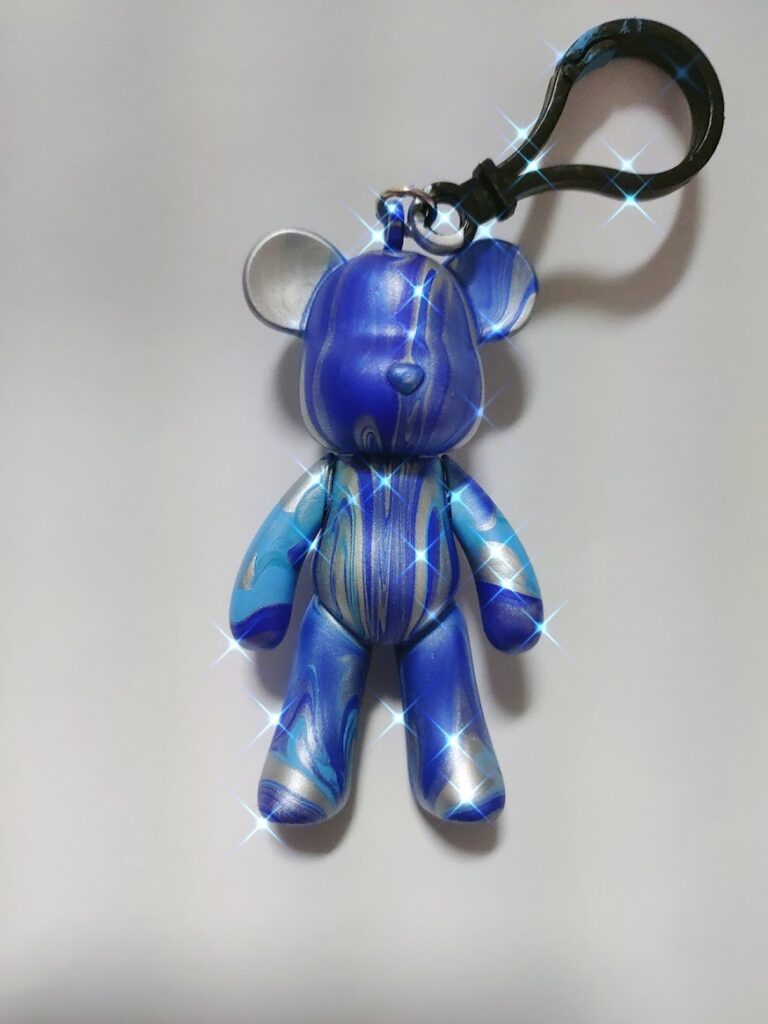
Fluid Bear combines fluid art techniques with silicone bear molds — an art form that's both visually striking and full of personality. Whether you're decorating your home or wrapping a handmade gift, the appeal is undeniable. This article walks you through how to DIY your own Fluid Bear so you can enjoy the creative process.
Gather materials and tools
Before you start, prepare the following materials and tools:
- Must-have materials: Silicone bear mold, acrylic paints, fluid art mediums (pouring medium, silicone oil, etc.)
- Recommended tools: Stirring sticks, droppers, gloves, paper cups, hairdryer (to help paint flow)
Step-by-step process
Prep work
Before pouring paint, make sure your silicone mold is clean and dust-free.
- Mix acrylic paint with pouring medium in the right ratio so the paint flows properly.
- Add a few drops of silicone oil if you want those signature cell effects.
Color combinations and creative design
When picking colors, consider:
- Contrasting colors: Boost visual impact — e.g., blue and orange.
- Gradient colors: For a soft, natural transition — e.g., pink and purple.
- Metallics and glitter: Add a luxe touch and elevate the artistic value.
Pouring and shaping
- Slowly pour your mixed paint into the silicone mold — layer different colors for depth.
- Use a hairdryer or heat gun to gently move the surface so colors flow and blend naturally.
- Tap the bottom of the mold to release air bubbles.
Drying and demolding
- Let your Fluid Bear set for 24 to 48 hours until fully dry.
- Once dry, carefully remove the bear from the mold without damaging the edges.
- If the surface is uneven, apply a clear resin coat for added shine.
Advanced techniques and variations
If you want to level up your Fluid Bear designs, try:
- Adding glitter or gold leaf: For extra glam.
- Drip techniques: Create delicate flowing lines.
- Multi-layer Fluid Bears: Build more dimensional, sculptural textures.
Challenges of DIY and an easier alternative
While DIYing a Fluid Bear at home is a blast, there are a few challenges to watch out for:
- Paint can make a mess — you'll need proper protection to avoid staining tables and floors.
- You need plenty of drying space to let your Fluid Bear cure properly.
- Paint ratio and flow control can be tricky — it might take a few tries to get the ideal effect.
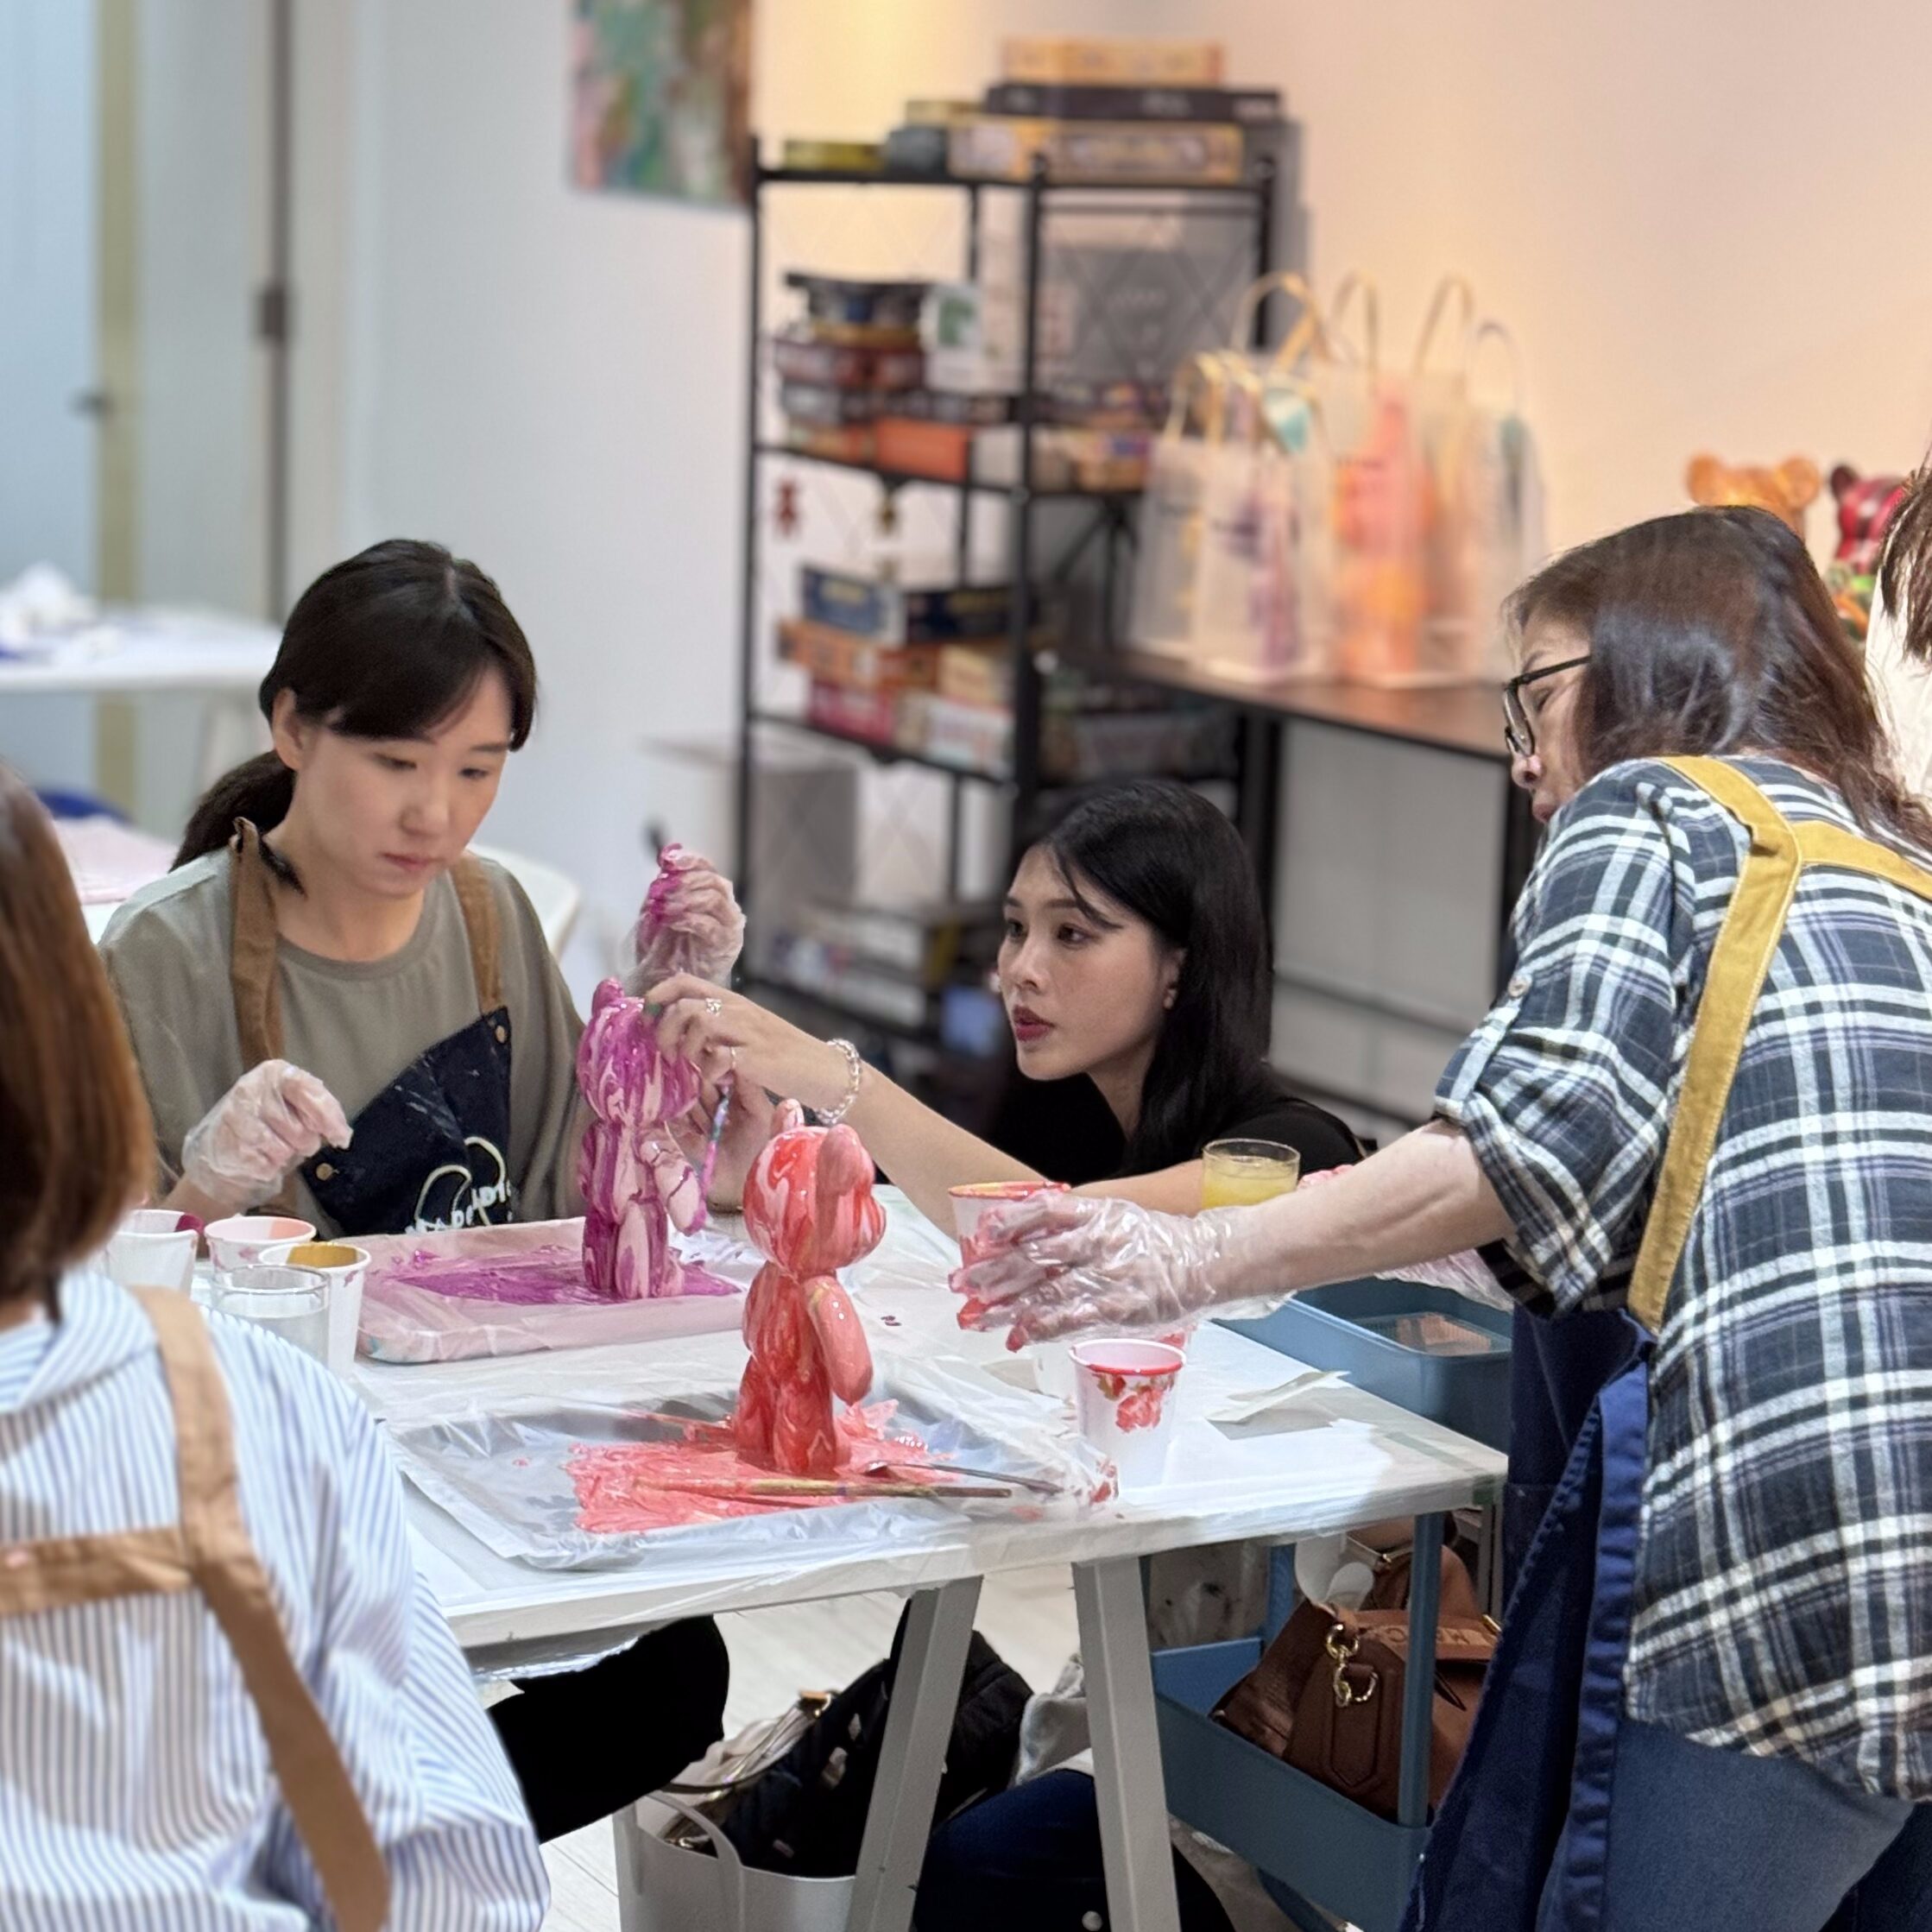
If you'd rather skip the hassle, come to our East District Fluid Bear studio — we provide the professional environment, materials, and guidance, so you can make a perfect Fluid Bear with zero stress and have a blast doing it with friends.
Common problems and fixes
- Paint not mixing right?
- Make sure your acrylic-to-medium ratio is correct — not too thick, not too thin.
- Flow isn't working?
- Try adding more silicone oil, or use a hairdryer to help the paint move.
- Uneven surface?
- Apply a clear resin coat to add shine and smooth things out.
Wrap-up
DIY Fluid Bear is an endlessly creative handmade craft — therapeutic for the mind, and a great way to fill your creative space with color and joy. We hope this guide helps you make a one-of-a-kind Fluid Bear. Time to try it for yourself!
Further reading
- Taipei Fluid Bear Guide: Pricing, Sizes & Booking
- Fluid Art Experience in Taipei: Pricing & Beginner's Guide
- Taipei Handmade DIY Guide: 5 Therapeutic Experiences
Want to try Fluid Bear right now? Add Made Studio's official LINE account to book — you're 30 seconds from MRT Zhongxiao Dunhua Station, ready to create.